Evan A Charan
Digital Media 2
Animated Avatar

Reflection
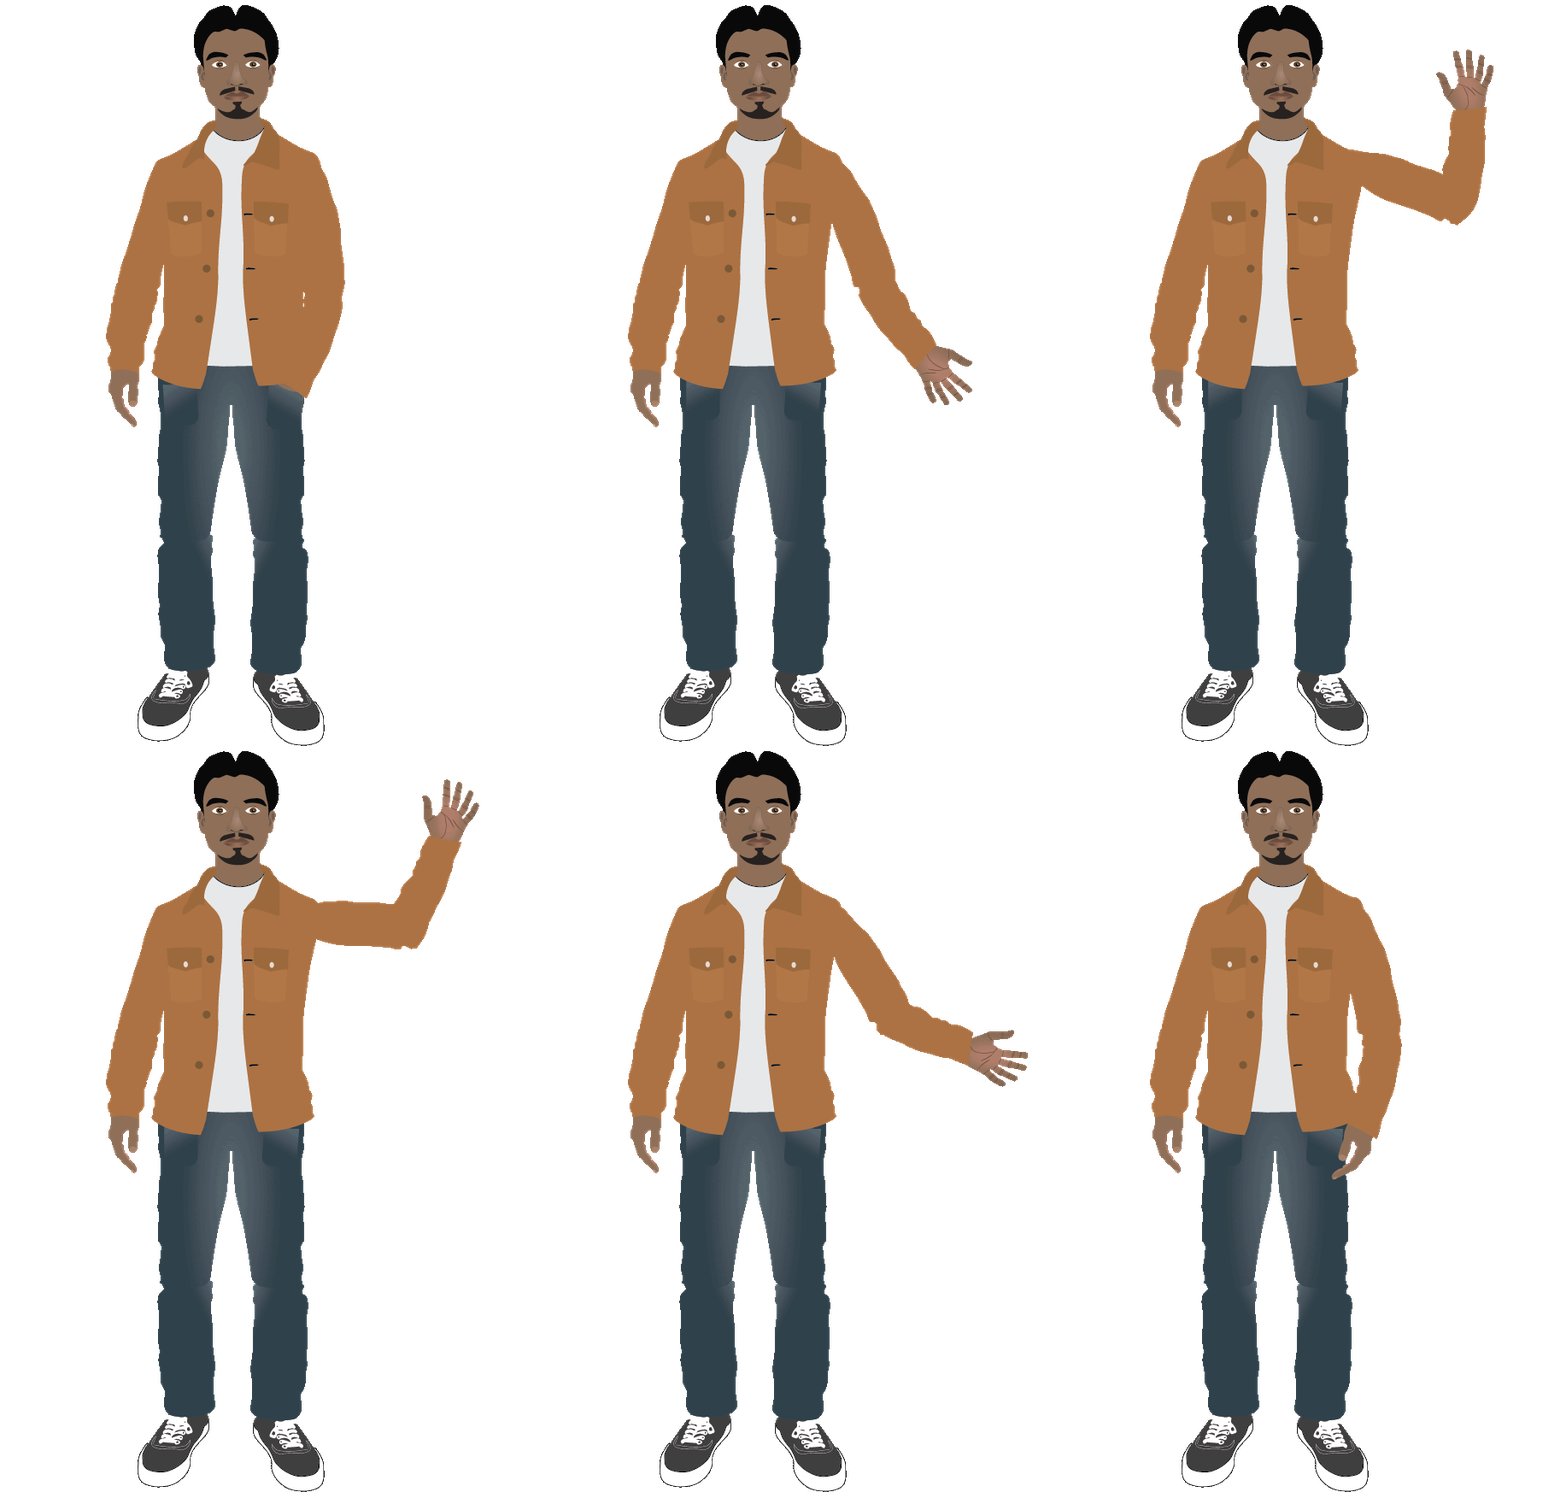
I started this project by first looking for a photo of myself on my phone, I then downloaded the picture of myself to my computer. Once in Adobe illustrator, I created a blank 8 x 11 document. When I was in the document, I inserted the picture of myself by clicking "Insert", followed by"Place Embedded" and then selecting the image of myself. After I added the image to Adobe illustrator, I used the curvature pen tool to trace my head and hair. After I created my head and hair, I used the ellipse tool to create an outline of my eye, next, I created two smaller ellipses using the same tool for my pupil and iris, and colored them according to my eye which was a black pupil and brown iris. To make the ripple pattern present in the eye, I used the star tool to create a star, I then clicked on the widget to round the edges of the star, after that I used the pucker and bloat tool in the "Fx" tab to make the star thinner and longer, looking similar to a splat. After completing the eye, I used the curvature pen tool to create my nose by tracing my nose in the photo, to make the nose not blend in with the rest of my face I used a radial gradient that was lighter in the middle and became darker towards the edges. Following making my nose, I used the curvature pen tool to create my lips, facial hair, eyebrows, and hands by using the same method I used to create my nose. Once I completed my face, I used the curvature pen tool to create my neck and ears. After I created my head, I searched on the internet for an image of a brown jacket and inserted it into Adobe illustrator using "Place Embedded". After I placed the image of the jacket into Adobe illustrator, I used the curvature pen tool to trace it in separate pieces such as the sleeves and the collar. Once the pieces of the jacket was completed, I used the shape builder tool to make the sleeves and collar become one piece with the rest of the jacket, then I inserted a full frame image of myself into Adobe illustrator using the method I used for jacket and used the curvature pen tool to create my jeans as well as my shoes. To achieve the"faded" look of my jeans I used a radial gradient with a 380 degree radius to make the jeans faded along in the center. After my whole body was created, I turned off the stroke for every shape and added multiple art board by clicking "Edit Art boards", then clicking on the art board label, followed by holding the "Option" key and dragging the art board to create a copy of the art board. On each art board, I slightly adjusted the left arm to simulate the gesture of waving your hand. Once I completed the cycle of my hand waving, I exported the images by selecting to download art boards 2-45 as a PNG, followed by inserting the downloaded art board into the "EZGIF" website and checking the "fade" option as well as changing the delay to 10 seconds.
The most challenging part of creating my avatar was making the eyes because unlike the rest of my avatar I did not trace it using the curvature pen tool, instead I created it from scratch using various tools such as the ellipse tool as wells as the pucker and bloat feature.
I created movement by slightly angling the arm up more and more per art board. In order to simulate waving, I adjusted the upper and forearm so that it looks more natural as the lower arm would sort of curve up when waving rather than just be completely in line to the upper arm.
The improvements I would make next time is to make a more unique animation as I made my avatar do a basic wave. Next time, I would make the whole body of my avatar move so that it looks more interesting to look at.
